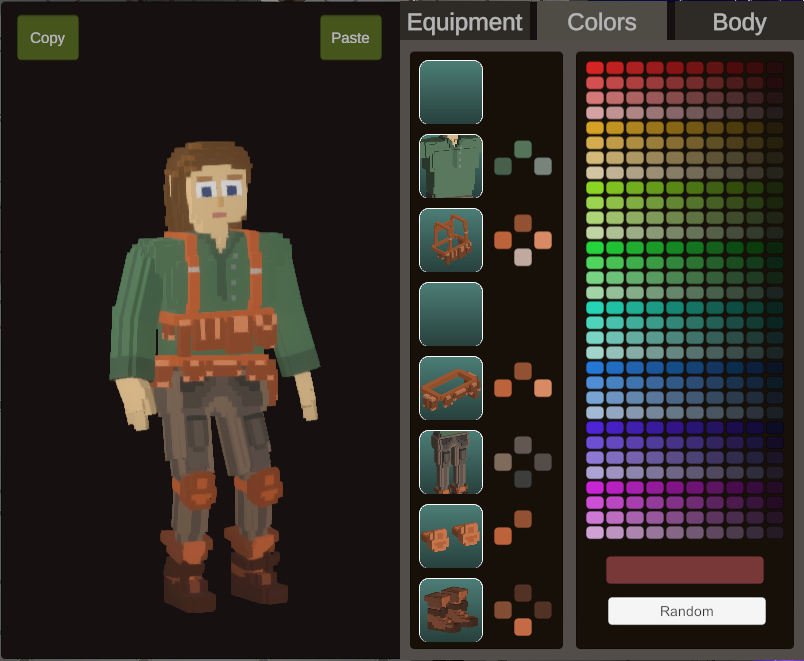
My first attempt at creating voxel character asset pipeline for Void Nomads didn’t turn out well. I made the models in Qubicle, and wanted to be able to paint them in the character editor. I also wanted the pipeline to be as automated as possible. I exported the models in FBX format, and I created an import script that generated texture layers. For each paintable element of the model it used a separate texture, which was white for the given element, and transparent for the rest of the model. This way changing the base color for a texture changed only the color of the corresponding part of the model.

Using a lot of materials with transparency is never good for performance. But that was not the worst problem with my approach. Transparent materials mixed with light-emitting materials caused rendering issues. Depending on the camera distance and angle, additional model parts could become emissive.
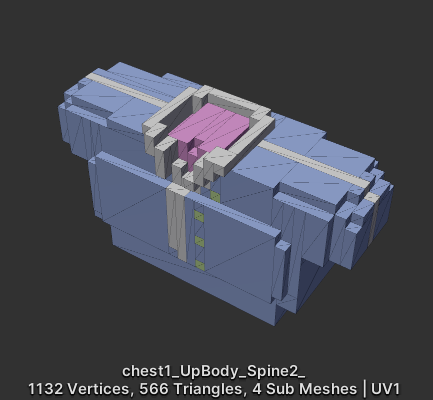
The correct way to create a paintable model is to use sub-meshes with separate materials assigned to them. Unfortunately, there’s no way to divide the model into sub-meshes in Qubicle. I didn’t want to add a separate step with dividing the mesh manually in Blender, so I started looking for another way. I found that the Voxel Importer plugin available on the Unity asset store can import material settings from MagicaVoxel. MagicaVoxel not only has colors, but also material settings, such as metallic or roughness. When colors with different roughness settings are used, the plugin creates a separate material and sub-mesh for each one. It wasn’t exactly what I needed, but it was a good starting point for working out an asset pipeline utilizing sub-meshes.

Colors can be selected for different slots. I decided to map those slots to specific roughness values. I ended up using 13 values, representing the colors of skin, hair, eyes, clothing elements, etc.
In the character editor I built, colors can be selected for thirteen color slots including, for example, skin, hair, eyes, and equipment/clothing. As I don’t plan to use the roughness settings, I decided to assign roughness values from 1 to 13 to the slots. The importer script uses the roughness value to assign a color slot to the submesh and then resets the roughness settings. This way, I still get a model divided into sub-meshes, each with a separate texture assigned to it. The textures no longer need transparency, so the performance is better, and the emission issue is gone.
I had to move all the models to MagicaVoxel and set the roughness settings to values corresponding to their color slots. I don’t have many models yet, but it still took nearly 20 hours to convert all of them. Lots of work, but it was worth it; not only are the issues solved, but also there are two additional benefits. First, I can now use grayscale colors on the sub-mesh textures, which result in a brighter or darker shade when the sub mesh is painted. Second, since the MagicaVoxel file is imported directly without converting to a different format, Unity reloads it live after saving the model. This makes it easier to see how the model looks in the target environment and allows to make fast changes in the model with live preview in Unity.

Leave a Reply